My goals for week 4 were to get a basic frame built and mockup a simple raspberry pi that can perform an action as a result of receiving an SMS message.
Frame
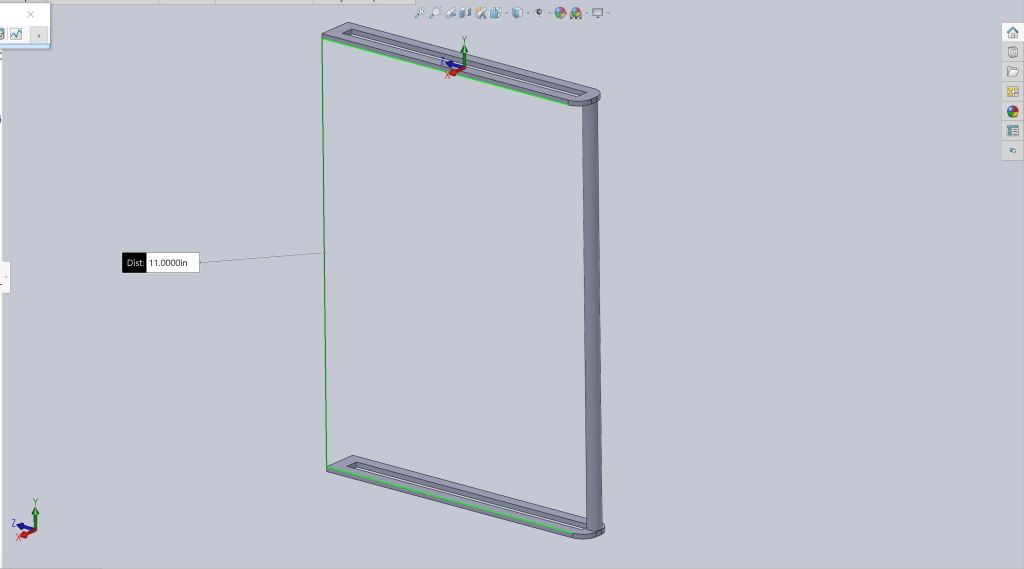
To start off my frame, I took my sketches from SolidWorks and determine what lengths of 2×4 board I would need to construct the shape. After I figured out lengths, it was time to cut boards. Fortunately, I own about every power tool I need to fabricate everything for this project.
Stacks of cut board are (L2R): 15″, 11″, and 22″ in length
After I had all my pieces cut, I began the process of fixing them together. To accomplish this, I used a combination of gorilla glue and screws with pilot holes drilled to avoid damaging the wood.
Two partially completed half frames
My process was to construct two identical framed rectangles, and then I would use the 11″ pieces to bridge the two frames together.
Bridging the half frames
Once, I got to the point of bridging the separate frames together to complete the piece, I needed to change my attachment method. Since I couldn’t get screws through the ends of the board here (above), I used metal brackets in combination with wood glue to fix the pieces together.
After I attached the two frames together, the only thing left to do was admire my handy work. It came out very flush and straight. It is also structurally very firm, a great sign for the project’s future.
The interior dimensions are 15x15x15, an ideal size to store a plethora of miscellaneous sharable items. There are some final touches I still need to do to consider the frame finished, but I am happy with where it is at currently.
Raspberry Pi
Unfortunately, due to unforeseen circumstances that demanded my attention, I was unable to get to the Raspberry Pi this week.
Time Management
Week 4 Goals:
Build frame: 6 +/- 2
Get basic raspberry pi framework: 6 +/- 2
Week 4 actual time use:
Build frame: 4.5
The frame progressed quite well, and I am satisfied with where that is currently. I hope to get to the rest of it, and the raspberry pi work in the near future.
Everything is progressing nicely. I have decided on a material, I have found an excellent approach to get my SMS Raspberry Pi functionality working. And I have made a great model of my project in SolidWorks that demonstrates my unique hinge.
CAD – Solidworks
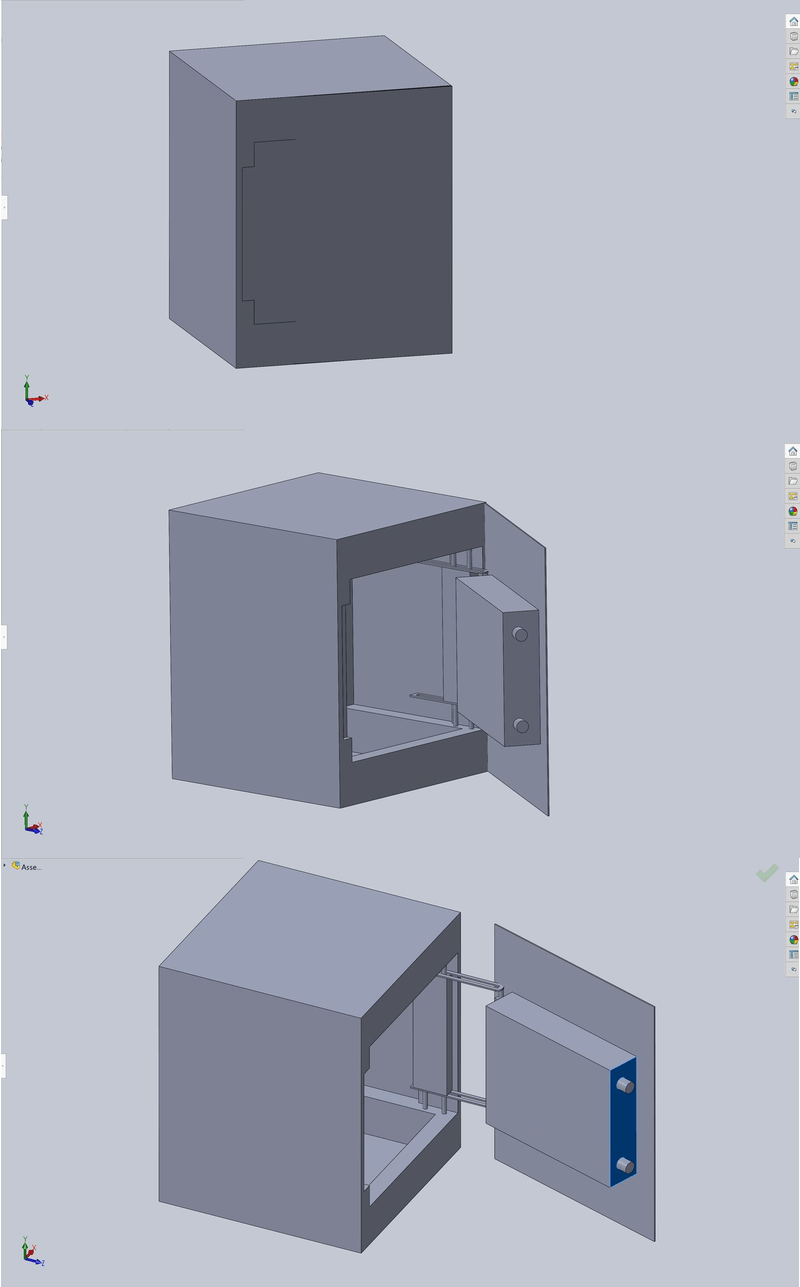
I started making this with just a basic frame with panels on it. Everything is dimensioned to provide a 15x15x15 inch area inside. This is a space most small objects and books I could think of lending people would fit in. The final dimensions ended up being 18x18x22.
View inside feat. Lock holes
View inside feat. bracket rods
While designing this box to be featureless, lockable, and seamless, a particular problem became apparent. How can you open such a thing? The door can’t open when the section closest to the hinge has nowhere to swing. Especially given that I need to put the hinge where it is structurally sound.
For a solution, I came up with unique sliding hinge.
Sliding Bracket
This bracket’s rod allows the door to pivot around it. The slots in the brackets slide back and forth in the frame of the box itself, allowing the door to move outward as it opens, providing room for the hinge to operate properly. This will be spring-toward the back of the box to both assist closing and keep the box seamless while closed.
Door: feat. hinge for bracket on left and lock cylinders on right
The door (above) pivots on the rod on the bracket part and can pull out the bracket.
Closed, open, open far
As illustrated above, as the door opens, it slides farther out to allow full pivot of the door’s hinge.
I plan to use solenoids to pop the door ajar in operation, and the user opens it the rest of the way.
Material Selection
I have chosen a material for the exterior of the box. After comparing the results of 6 combinations, I have made a selection.
The options I was considering for exterior paneling were (illustrated above) galvanized sheet steel (plain) or with matte or semi-gloss black paint. The other options were acrylic (plain) or with matter or semi-gloss black paint. I have selected semi-gloss black painted galvanized sheet steel. It is inexpensive, and relatively easy to work with. To ease my efforts. I will look into the costs of having the pieces I need laser cut in a shop after I have final frame dimensions.
Paint process
One problem I anticipate with the sheet metal, is that it is relatively malleable when not backed by a rigid material. I will counteract that by filling the space in my frame with structural backing. For the door, I plan to back the sheet metal with HardBoard compressed Masonite.
Hardboard with sheet metal atop demonstrating malleability
Software
After a consultation with a technical advisor of mine, I concluded I will be using Twilio’s resources to operate my software. Twilio offers an API and phone number plan to use SMS messages through the internet.
I have found a tutorial to help set a raspberry pi up to operate its GPIO (pins) using an SMS message from your phone.
I plan to use Python’s web framework DJANGO to operate my Pi with the web.
Time Management
Week 3 Goals (in order of precedence):
CAD model(s): 6 hours
Material Sample Testing: 3 hours
SMS refresh: 2 hours
Misc. other stuff that could come up: 1 hour
email Stephanie: practically no time at all maybe 5 minutes
Feedback: keep doing what you’re doing
Week 3 actual time use:
CAD model(s): 9 hours
Material Sample Testing: 2 hours
SMS refresh: 1 hours
The CAD model took much longer than anticipated, but I also finalized my design in the process. I finalized my material selection after some trips around campus and hardware stores for supplies. I have a clear cut direction on what to do for software now that I consulted an advisor.
I emailed Stephanie, and things are looking good for deployment. Need to get back to her this week.
I purchased everything that needed to be ordered online, leaving only materials for structural elements to be purchased.
As of 1/15 I have used approx. $135 of my $250 budget. Because I am a prime member, most of my order will arrive on the day I ordered it.
NOTE: My parts from amazon all arrived, and due to some changes in the project, I do not need some of them. Time to ship them back!
After a very constructive talk with my mentor Danny, I have a revised plan for a userbase, construction, and operation. The following paragraphs breaks down each section of my revised plan
Userbase
My initial thoughts for Cubit were as follows: use publicly located smart lockers to facilitate second-hand commerce. My revised plan uses a similar approach for facilitating the sharing of goods and across the student body. A single designed box will appear somewhere on campus. Any student curious enough about the box can find a phone number on the box. Texting or calling that number will provide them with instructions. Ideally this box will travel around campus. Ideally this box will receive advertising from official university channels.
Construction
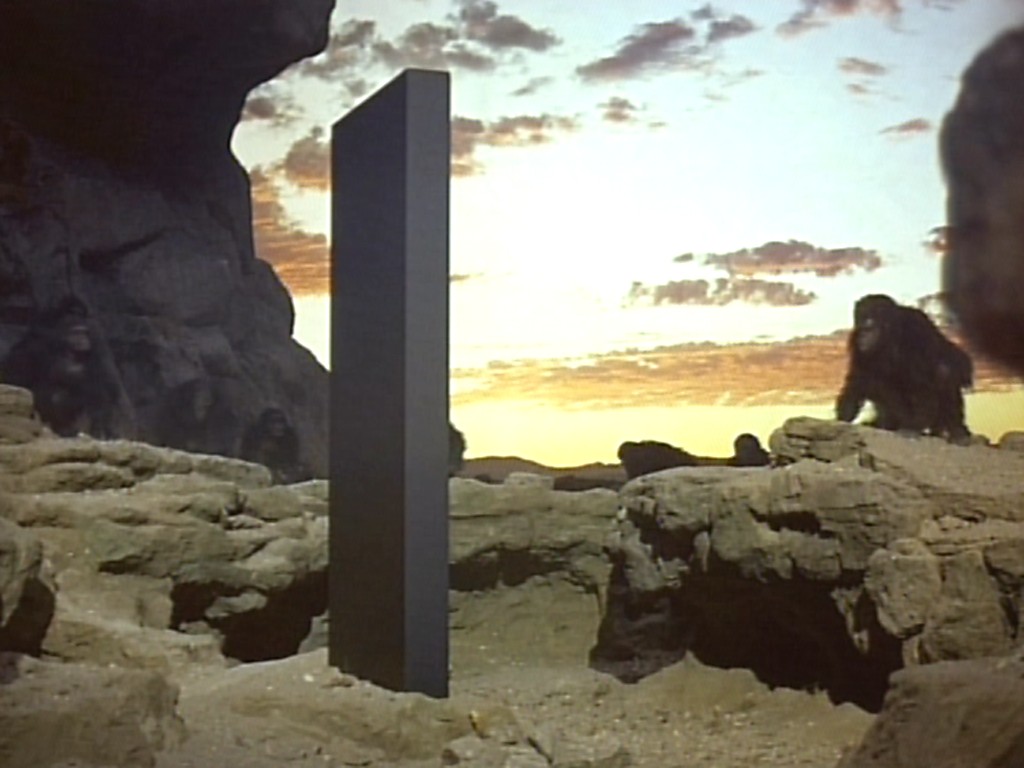
With box transparency no longer important, my creativity can shine in the design and construction of the box itself. I plan to make it reminiscent of the monolith from 2001: A Space Odyssey. It will provoke interaction without demanding it. Its lack affordances will incite attention. It will be a mystery and a secret. An easter egg of campus. My initial thoughts are something that looks like a perfectly smooth and symmetrical rectangular prism. No handles, no buttons, nothing but a phone number scrawled into its surface. Using the box will mean solving a wordless riddle. Construction will be done using a frame of structural lumber, surrounded by a featureless shell, and containing a shell that hides the structure.
As per my conversation with Mr. Ranking, branding has become less important. The box will be its own brand. It will take on an identity of itself. Like the HAL-9000 of the same movie, the box will have a name of its own. Something reminiscent of the simple technology partners of today, such as the aptly named Samsung Bixby or Apple’s Siri.
Long story short a name is TBD.
Operation
Students can use this box to stow items for other students to retrieve. This will work via the following process illustrated below:
Synopsis: 1. A user texts the number found on the box. They receive in reply, instructions to operate the box. If the box is in being used, they learn when the current operation expires.
2. The user uses the OPEN command through SMS and the box opens. Upon closing it with goods to be exchanged inside, the box sends a request for information message. It wants a recipient’s phone number
3. The box sends instructions and a photo of the goods (taken by the box’s internal camera) to the recipient, along with a date-time by which they must retrieve the item(s) or forfeit them
4. The recipient sends an OPEN message to the box’s number which opens the box. The recipient can take the item(s) and the interaction has ended. UPDATE: The recipient has a unique code generated by the box that only the depositor and recipient share. That will counteract previous box users from opening it for mischief while in operation.
These steps are accomplished by using cloud stored functions and mobile-cloud messaging services like Twilio. When a message is sent to the box, it triggers an action from a cloud based function. This action could be the response of another message, or it could be the opening of the box itself.
Concerns
The box can be thought of as a physical dead-drop and could attract some unwanted attention from wrong-doers. This project will be a good testing ground to see what the results of a free to use secure space will be.
While the possibilities of vandalism and misuse still exist, on this smaller userbase scale, the severity is greatly reduced. Plus the vandalism itself becomes as useful a product of the design as the utility itself. In this great dead-drop experiment any interaction, good or bad contributes to results.
It is possible that some effort by myself will have to go into policing the use of the box in the early days of its use. But the results of this shared space experiment could prove both fascinating and useful insights into developing a more meaningful box.
Weekly Time Management
Goals from last Week
Talk with Danny about project changes – 1 hour
(used the hour)
Develop new user profile – 2 hours
Develop new branding identity – 1 hour
Design new aesthetic – 3 hours
Think of marketing materials/videos – 1 hour
(the above 4 became the same sort of problem to solve and probably took ~5 hours to plan out)
Shopping – 3 hours
(1 hour of amazon working/fighting)
I am ecstatic because I finally have the exact direction this project will be going. Everything has become concrete and just requires execution. I would say the planning stage is for all intents and purposes wrapped up. Now I can enter hardware mode!